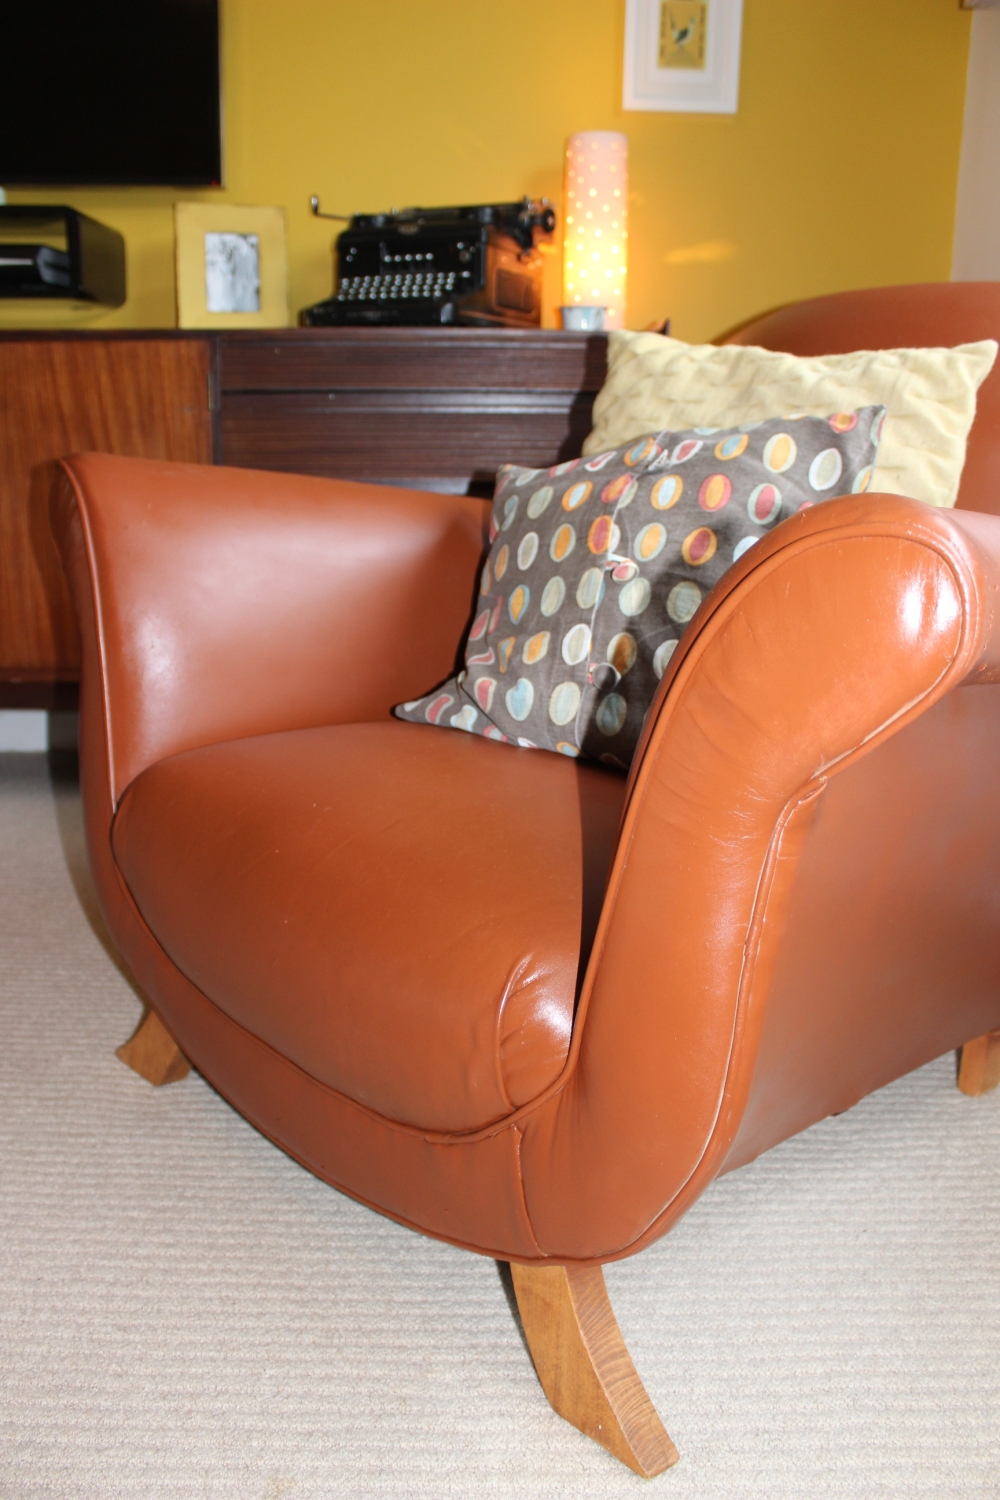
I found my leather chair in Brighton years ago. I went with a friend and was looking for a leather jacket ironically. I was drawn into the furniture shop by the shape of this chair and just had to have it. Its sat in quite a few living rooms and is now in our snug. Its faded a lot as its sat near too many sunny windows over the years and has had quite a few cat scratches as for some reason leather chair = climbing frame to my cats. The leather has got a bit dry and it really needed something to out the moisture put back into the leather. I don’t mind the battered leather look at all.. but its not at all even and I just wanted to give it some love.
I decided over the summer holidays I would renovated it. I found a company who create dye you can use at home. I was sceptical about how good the results would be but was really pleased with the finish. It has a nice matt finish and hides most of the scratches and has evened out the colour.

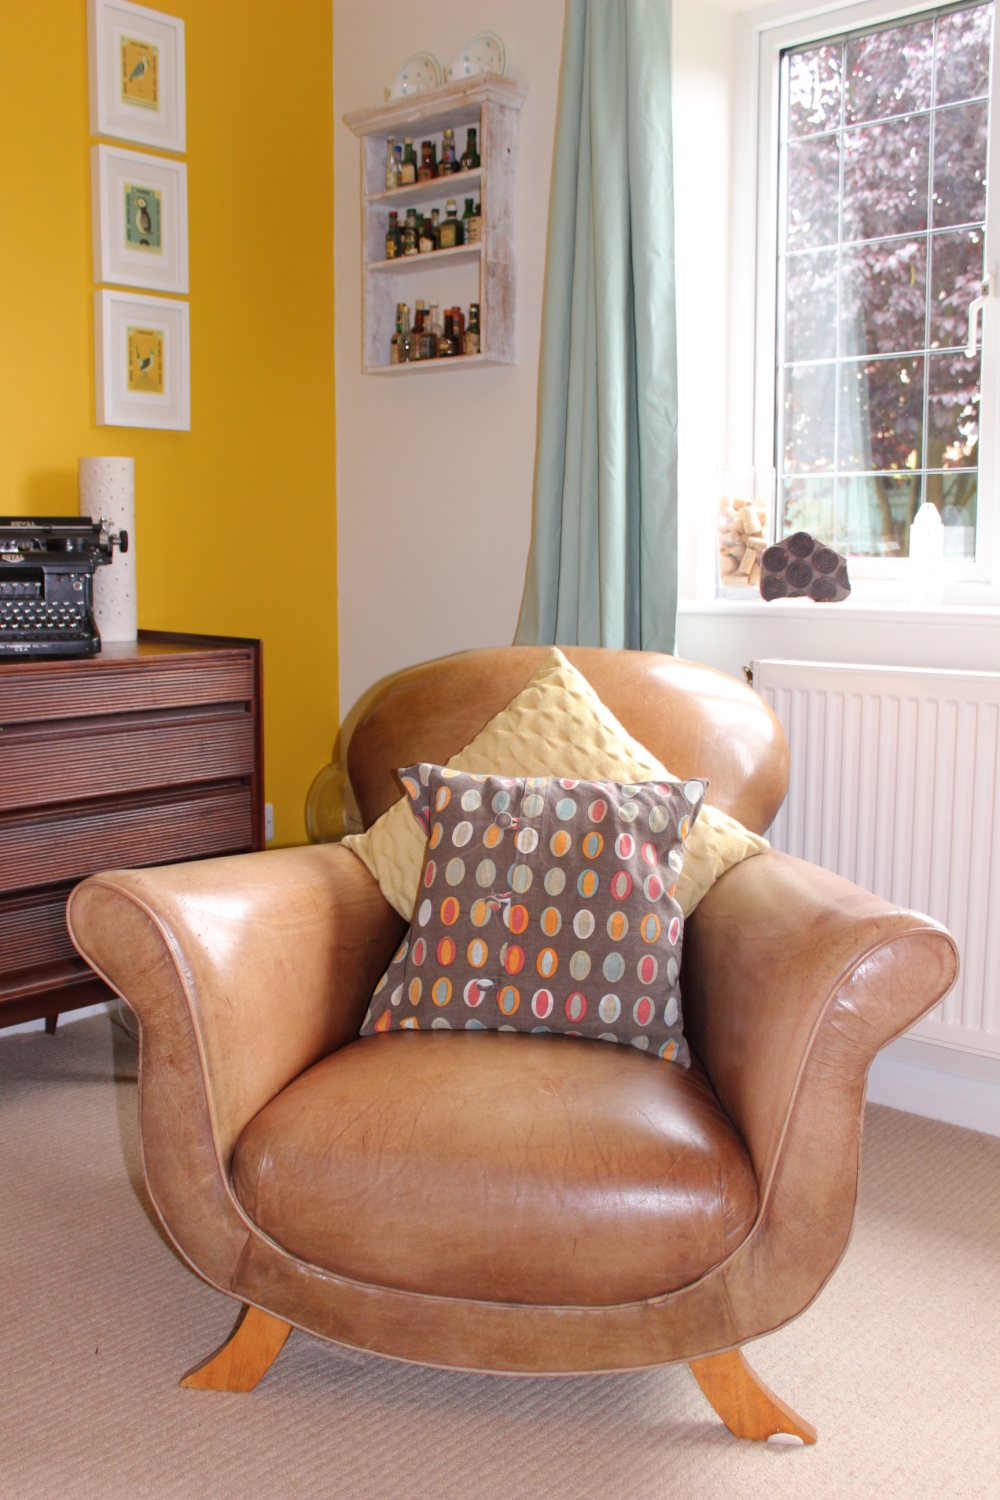
I am glad I did the work in the summer as you really need to work outside as the final dye layer is sprayed on and would be a bit risky to do inside. It also meant each layer could dry quickly. You have to take of any varnish layers before you add the dye and smooth any scratches with sandpaper to prepare the surface. The first layer of dye is rubbed not the leather. You then use a aerosol to put thin layers of dye onto the surface to create an even dye distribution. It was a bit of a faff doing the prep but adding the dye and using the aerosol was much easier than I expected. The colour is a bit darker than I expected but works with all the mid century furniture it sits with so am a very happy renovator!
I used a leather colourant kit from http://www.furnitureclinic.co.uk. I used medium brown. It cost around fifty pounds. But I have a new chair for that!